
Beacon Machine Manufacturing Co.,ltd
 Language
  EN
EN RU
RU ES
ES DE
DE EL
EL IT
IT JA
JA KO
KO PT
PT ID
ID SR
SR UK
UK VI
VI TH
TH TR
TR MS
MS BE
BE AR
ARDiesel Injector Nozzle Replacement Guide: Essential Tools & Professional Tips
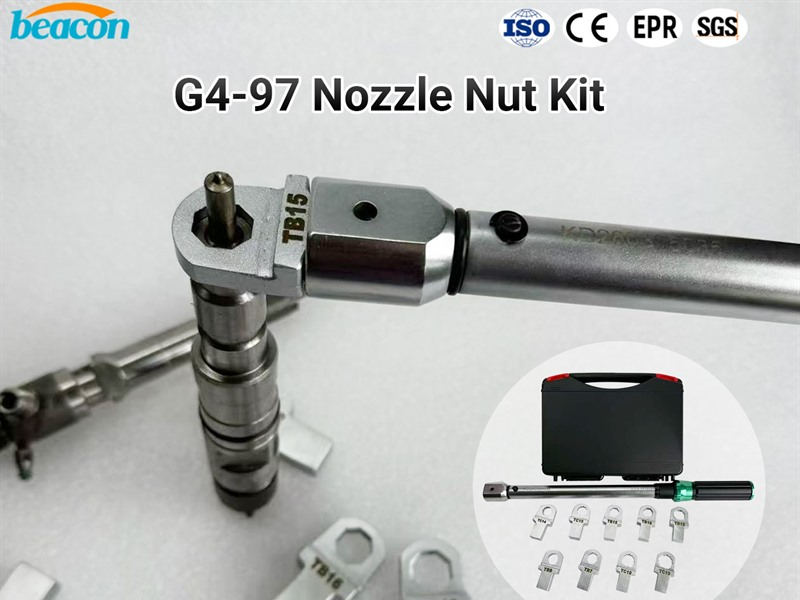
Diesel fuel injector nozzles are precision components that endure extreme pressures, temperatures, and millions of injection cycles. Over time, nozzle wear leads to poor spray patterns, incomplete combustion, power loss, and increased emissions. Replacing worn nozzles is one of the most cost-effective ways to restore engine performance — when done correctly with the right tools.
When to Replace Injector Nozzles
Not every injector problem requires a full replacement. Look for these warning signs that your nozzles are due:
- Black smoke from exhaust — Worn nozzles drip fuel, causing incomplete combustion and visible soot
- Engine misfire or rough idle — Uneven fuel delivery creates cylinder imbalance, especially noticeable at low RPM
- Increased fuel consumption — Poor atomization means more fuel is needed to produce the same power output
- Knocking or diesel clatter — Irregular injection timing from worn nozzle seats causes audible combustion knock
- Failed emissions test — Excessive hydrocarbons and particulate matter are direct results of poor nozzle spray patterns
- Visible damage or corrosion — Physical inspection reveals pitting, erosion, or carbon deposits on the nozzle tip
Essential Tools for the Job
Professional nozzle replacement requires specialty tools. Using generic wrenches risks rounding delicate nozzle cap nuts, damaging injector bodies, and creating expensive leaks. Here is what every diesel workshop needs:
- Injector Nozzle Cap Nut Socket Set — Precision-machined sockets that match the exact profile of nozzle retaining cap nuts. Our G4-97 Nozzle Cap Nut Socket Set covers Bosch, Delphi, and Denso common rail injectors with multi-size sockets in chrome-vanadium steel.
- Torque Wrench — Critical for tightening cap nuts to manufacturer specifications (typically 35-50 Nm for common rail injectors). Over-torquing deforms the nozzle body; under-torquing causes high-pressure fuel leaks.
- Injector Puller Tool — For injectors seized in the cylinder head. Never pry against the injector body — use a proper hydraulic or mechanical puller.
- Cleaning Kit — Carbon deposit scrapers, nozzle seat cleaning brushes, and bore reamers to ensure a clean sealing surface for the new nozzle.
- Assembly Lubricant — Special anti-seize compound for injector clamp bolts and copper sealing washers.
Step-by-Step Nozzle Replacement Procedure
Follow these steps for a reliable, leak-free nozzle replacement. Always consult the specific engine service manual for exact torque values and procedures.
| Step | Action | Details & Precautions |
|---|---|---|
| 1 | Clean workspace | Thoroughly clean the injector area with brake cleaner and compressed air. Any dirt entering the fuel system will destroy the new nozzle instantly. |
| 2 | Remove injector lines | Loosen high-pressure lines carefully. Cap all open ports immediately to prevent contamination. |
| 3 | Extract injector | Use proper puller tool. Do NOT hammer or pry against the injector body — this bends internal components. |
| 4 | Mount in vise | Secure injector body in a soft-jaw vise. Never clamp directly on machined surfaces. |
| 5 | Remove cap nut | Use the correct G4-97 socket matching your nozzle size. Apply steady, controlled force — do not impact. The cap nut is thin-walled and easily deformed. |
| 6 | Extract old nozzle | Gently lift the nozzle assembly. Inspect the sealing surface for damage or carbon buildup. Clean thoroughly. |
| 7 | Install new nozzle | Apply clean diesel or calibration fluid to the new nozzle. Seat it carefully — never force. Misalignment destroys the needle guide instantly. |
| 8 | Tighten cap nut | Thread by hand first, then torque to specification with the G4-97 socket and torque wrench. Cross-threading is the #1 cause of nozzle failure after replacement. |
| 9 | Reinstall injector | Use a new copper sealing washer. Tighten injector clamp bolts to specification in a cross pattern. |
| 10 | Test | Before returning to service, test the injector on a common rail test bench to verify spray pattern, opening pressure, and leak-tightness. |
Common Mistakes That Damage Injectors
Even experienced technicians can make these costly errors. Avoid them at all costs:
- Using the wrong socket on cap nuts — Generic 12-point sockets round the thin-walled hex on nozzle cap nuts. The G4-97 precision-fit sockets eliminate this risk entirely.
- Over-torquing the cap nut — The nozzle body is precision-ground. Excessive torque warps the body and misaligns the needle — the injector will never spray correctly again.
- Skipping the test bench verification — A visual inspection cannot confirm spray pattern or opening pressure. Always test before reinstalling in the engine.
- Reusing old copper washers — Copper work-hardens after the first crush. A reused washer will not seal properly and causes combustion gas leaks past the injector.
- Mixing nozzle types between cylinders — All injectors on an engine must have matched flow rates. Mismatched nozzles cause cylinder-to-cylinder imbalance and engine vibration.
Why Invest in the G4-97 Nozzle Cap Nut Socket Set
The G4-97 Injector Nozzle Cap Nut Socket Set is purpose-built for professional diesel workshops:
- Multi-Brand Coverage — One set handles Bosch, Delphi, and Denso common rail injectors across European, American, and Asian vehicles
- Precision Internal Profile — Accurately machined sockets match nozzle cap nut profiles, preventing rounding and component damage
- Chrome-Vanadium Steel — Premium Cr-V alloy with heat treatment resists wear under daily professional use
- Standard Square Drive — Compatible with all standard ratchets, breaker bars, and torque wrenches
- Organized Storage Case — Clearly labeled slots for quick identification and inventory management
Pro Tips for Professional Results
- Always work clean. Fuel system contamination is invisible to the naked eye but instantly fatal to new nozzles. Dedicate a clean bench area and use lint-free wipes.
- Torque is everything. Invest in a calibrated 1/2" torque wrench. Check calibration quarterly — a 10% error at 50 Nm can mean the difference between a perfect seal and a fuel leak.
- Document every job. Record the injector serial number, test bench results before and after, torque values used, and any observations. This data is invaluable for warranty claims and repeat customer trust.
- Test bench is mandatory. No professional workshop should skip post-replacement injector testing. A common rail injector test bench confirms spray pattern, opening pressure, back-leakage, and full-load delivery before the injector goes back into the engine.
Related products
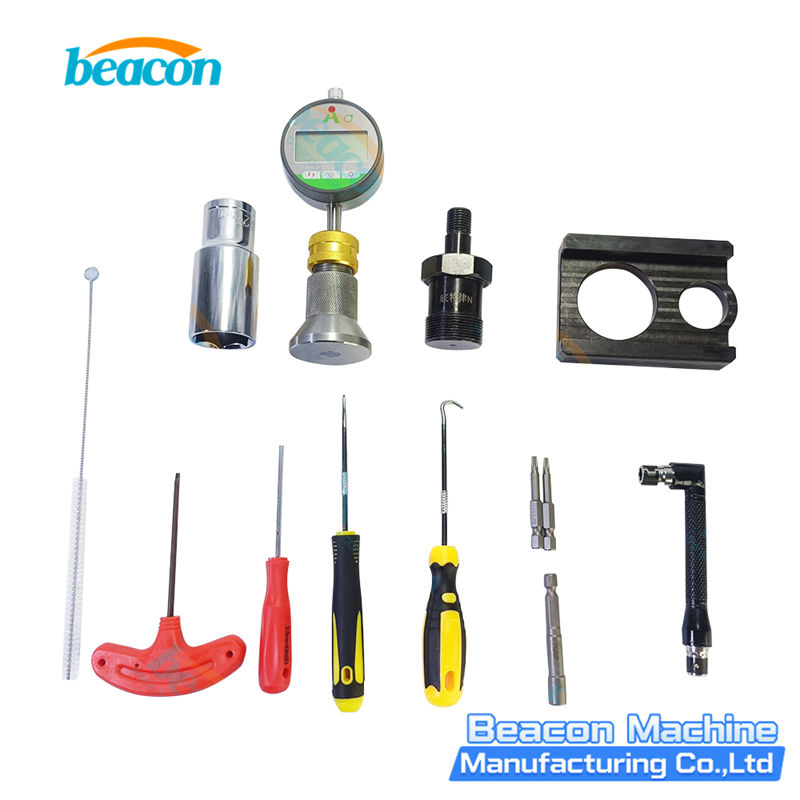
G4-63 Detroit Diesel Injector Repair Kit - Injector Service Tool Set
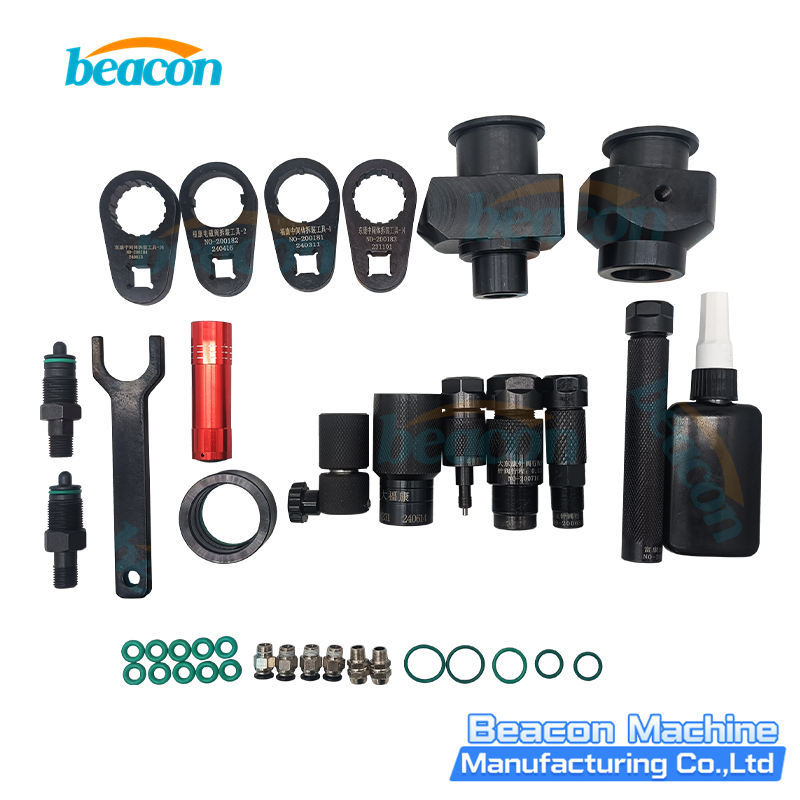
G4-35 Cummins Injector Repair Tool Set 16pcs for 4307475 4327072 2872544
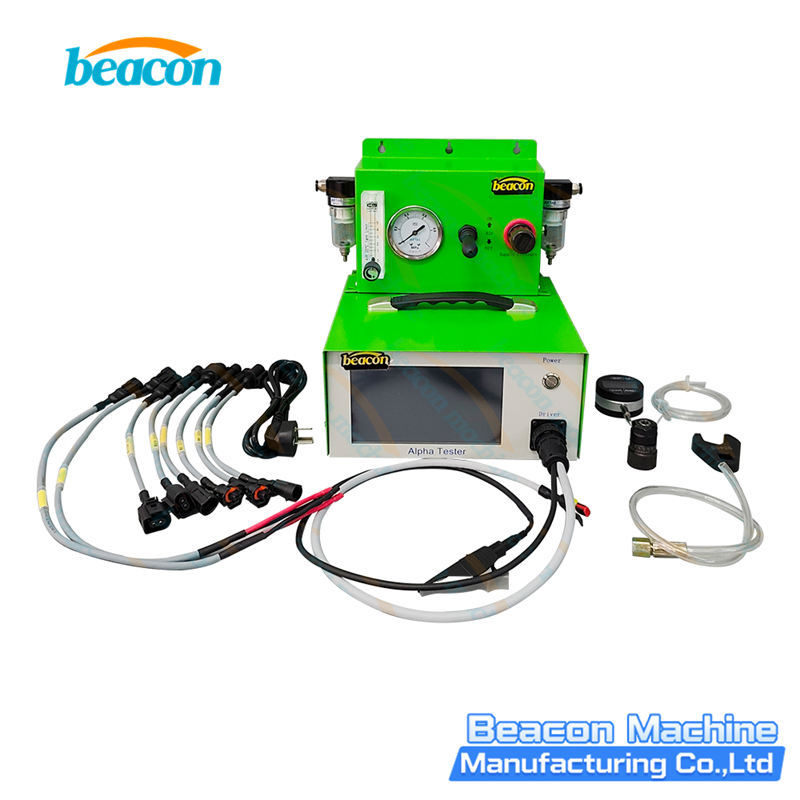
CRI350 Piezo Injectors Full-Functional Tester for Bosch Denso Siemens VDO
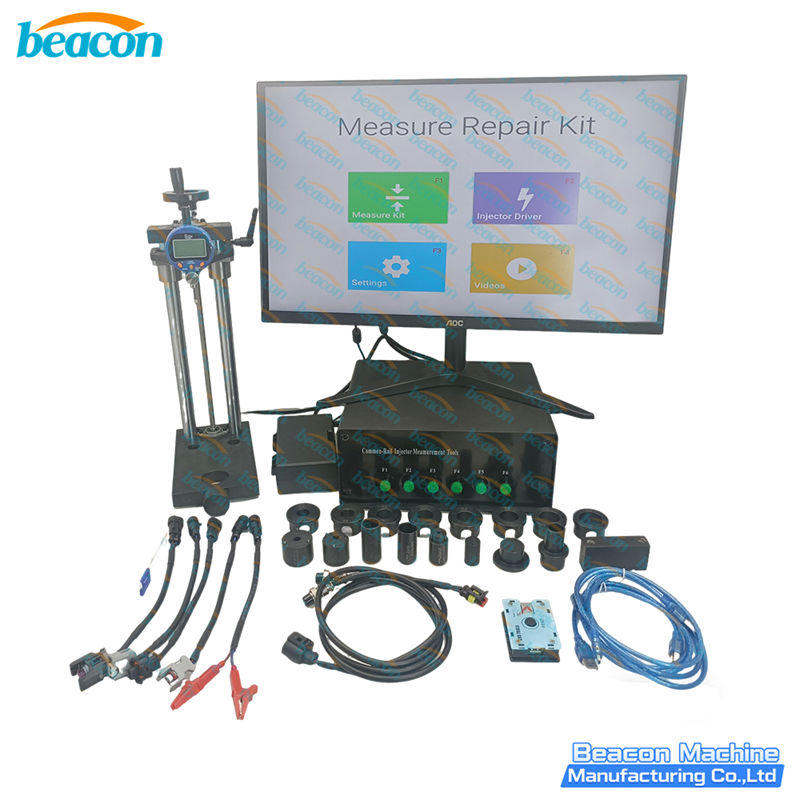
CRR920-C Common Rail Injector Stroke Measuring System Stage 3 Repair Kit
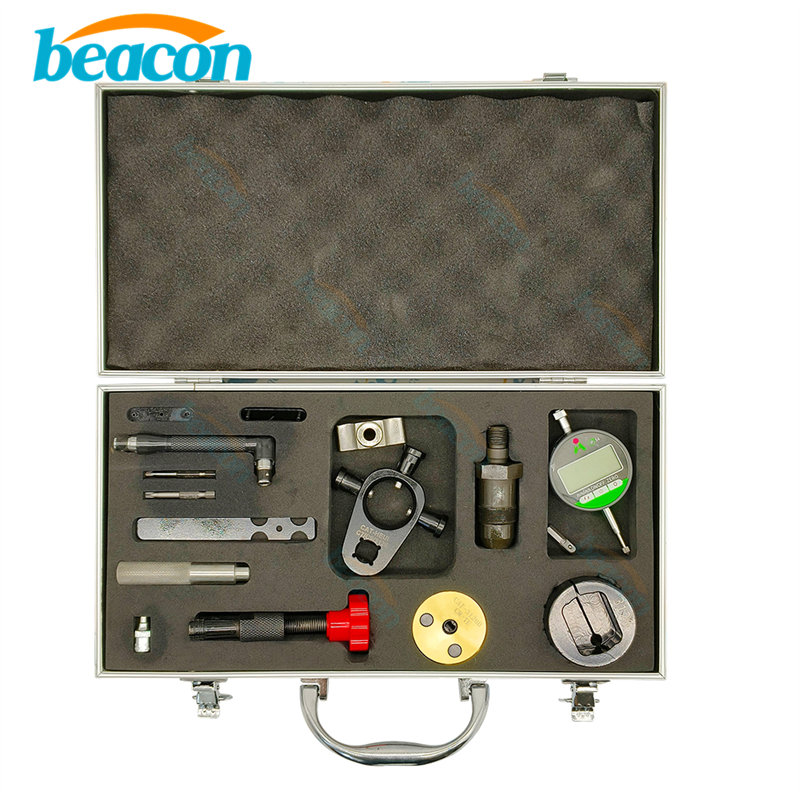
G4-18 CAT 3126 Injector Breakdown and Disassembly Tool Kit
Beacon Machine Manufacturing Co.,ltd
Quick Links
contact
WhatsApp: +86-13570429157
Tel / Wechat: 0086-13570429157
Email: ellenzhang@beacon-machine.com
Add: High Technology Industrial Park of Taian city,Shandong province,China


quick order
We will reply to your email within 2 hours