
Beacon Machine Manufacturing Co.,ltd
 Language
  EN
EN RU
RU ES
ES DE
DE EL
EL IT
IT JA
JA KO
KO PT
PT ID
ID SR
SR UK
UK VI
VI TH
TH TR
TR MS
MS BE
BE AR
ARCommon Rail Injector Return Flow Too High: Causes, Diagnosis and Repair
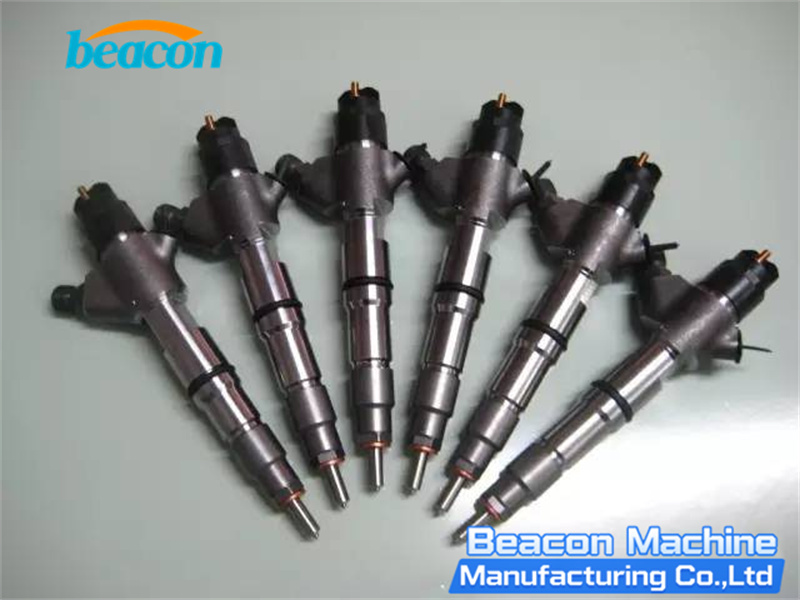
Return flow is a normal part of common rail injector operation. A controlled amount of fuel passes through the injector's internal control and lubrication circuits before returning to the tank. The problem begins when this back leakage becomes excessive: the injector can no longer maintain the hydraulic pressure difference required for accurate needle control, and the common rail system may struggle to build or hold pressure.
High return flow can cause hard starting, unstable idle, reduced power, increased fuel consumption, or a rail-pressure fault. However, a return-flow result should never be judged in isolation. The injector part number, test pressure, command duration, fuel temperature, test time, and manufacturer's reference data must all match.
What Is Common Rail Injector Return Flow?
Inside a common rail injector, high-pressure fuel is used not only for injection but also for hydraulic control. When the solenoid or piezo actuator operates the control valve, pressure in the control chamber changes and allows the needle to move. Fuel from this control process leaves through the return circuit. Small internal clearances also provide lubrication and cooling.
Therefore, the correct target is not zero return flow. A healthy injector produces a controlled, repeatable return quantity within the specified range. “Too high” means the measured return exceeds the correct test-plan limit or differs significantly from comparable injectors tested under identical conditions.
Common Symptoms of Excessive Return Flow
- Long cranking or no start: excessive internal leakage prevents rail pressure from rising quickly enough during cranking.
- Rough idle: unstable hydraulic control causes uneven cylinder contribution.
- Loss of power under load: the high-pressure pump may not compensate for the leakage when fuel demand increases.
- Rail-pressure fault codes: actual pressure remains below the ECU target even when the pressure-control system is commanded to respond.
- Abnormal correction values: the ECU may increase or reduce cylinder correction in an attempt to balance combustion.
- Hot-start problems: lower fuel viscosity at operating temperature can make wear-related internal leakage more obvious.
Why Does Injector Return Flow Become Too High?
1. Worn Control Valve or Valve Seat
The control valve and its seat repeatedly open and close under very high pressure. Microscopic erosion, pitting, or loss of sealing geometry allows too much fuel to escape from the control chamber. This is one of the most common causes of high back leakage. Because the pressure difference across the needle cannot be controlled correctly, injection quantity may also become low or unstable.
2. Excessive Clearance in Internal Guide Surfaces
Wear around the control piston, valve stem, needle guide, or related precision surfaces creates additional leakage paths. The exact components differ between Bosch, Denso, Delphi, Siemens/VDO, and other injector designs, so diagnosis must follow the construction and specifications of the exact part number.
3. Nozzle Needle or Nozzle-Body Wear
A worn needle and guide can allow fuel to bypass internally. Nozzle damage may also affect injection delivery, spray quality, and seat sealing. High return combined with abnormal injection quantity is therefore more informative than either measurement alone.
4. Contamination and Fuel Damage
Hard particles can score precision sealing surfaces, while water causes corrosion and reduces lubrication. Poor filtration and incorrect fuel accelerate control-valve and guide wear. Cleaning may remove deposits, but it cannot restore metal that has been eroded or scored.
5. Incorrect Assembly or Adjustment
Wrong shims, incorrect armature lift, excessive dynamic stroke, damaged sealing faces, incorrect tightening torque, or mismatched replacement parts can create high return flow after repair. Even a new control valve or nozzle may fail if the injector is assembled outside its verified dimensional specification.
6. External Leaks or Test-Connection Errors
A damaged return connector, loose hose, incorrect adapter, trapped air, or leaking test fixture can distort the measured volume. These faults must be eliminated before the injector is dismantled.
Diagnostic Patterns and Their Likely Meaning
| Test Pattern | Likely Direction | Recommended Check |
|---|---|---|
| High return + low injection quantity | Internal hydraulic leakage | Control valve, valve seat, needle guide, internal clearances |
| High return + difficult rail-pressure build-up | Leakage exceeds pump supply during cranking | Compare all injectors; verify pump and pressure-control system |
| One injector much higher than the others | Localized injector wear or damage | Confirm under identical time, pressure, and temperature |
| All injectors appear high | Wrong specification or test-condition problem | Check test plan, temperature, timing, adapters, calibration and units |
| High return only when hot | Wear-related clearances more evident at lower viscosity | Repeat at the specified stabilized temperature |
| Unstable return between repeated tests | Air, contamination, sticking component, or unstable pressure | Bleed the circuit, clean connections, stabilize pressure and retest |
Step-by-Step Diagnosis
- Confirm the complaint. Read fault codes, actual rail pressure, starting behavior, and cylinder correction values.
- Inspect the complete low- and high-pressure system. Check fuel supply, filtration, pressure-control components, and visible leakage before blaming the injectors.
- Perform an on-engine comparison test. Measure all injector returns for the same operating condition and time. Use the vehicle manufacturer's procedure and safe approved equipment.
- Identify the exact injector. Record the brand and complete part number; select the matching test plan rather than a visually similar injector.
- Bench-test at several operating points. Compare return flow with injection quantity at cranking, idle, medium load, full load, and pilot conditions when specified.
- Repeat abnormal results. Stabilize calibration-fluid temperature, remove air, confirm rail pressure, and repeat the failed point.
- Interpret all measurements together. Return flow, injection quantity, response time, and electrical behavior provide a stronger diagnosis as a group.
Safety warning: common rail pressure can penetrate skin and cause life-threatening injury. Never search for a leak with a hand, loosen a high-pressure line while the system is operating, or use improvised containers and hoses.
Can an Injector with High Return Flow Be Repaired?
Repair depends on the injector design, the damaged component, the availability of correctly matched parts, and access to verified adjustment data. A professional repair process normally includes:
- clean disassembly in a controlled environment;
- inspection of the control valve, seat, nozzle, needle, guide surfaces, and sealing faces;
- replacement of worn components with matched, traceable parts;
- measurement and adjustment of armature lift, air gap, dynamic stroke, and other model-specific dimensions;
- assembly with the specified torque and cleanliness standard;
- complete bench testing after repair, followed by coding when required.
Ultrasonic cleaning alone will not repair erosion, pitting, or excessive clearance. If critical surfaces or the injector body are outside repair limits, replacement is safer and more reliable.
Why a Complete Test Bench Matters
A return-flow kit can identify a difference between injectors, but it cannot fully confirm injection quantity, pilot delivery, pressure behavior, response, or coding. A multifunction system such as the CR1017 common rail pump and injector test bench allows a workshop to evaluate injector return and delivery across controlled operating points while supporting a wider range of CRI, CRP, EUI, and HEUI work.
Final Repair Verification
After repair, the injector should pass every required test point—not only return flow. Verify injection quantity, return quantity, sealing, response, and repeatability at the specified temperature and pressure. Record the before-and-after results, generate a new correction code when the injector and test system require it, and only then return the injector to service.
Excessive return flow is a valuable diagnostic clue, but it is not a complete diagnosis by itself. Correct test conditions, matched reference data, and the relationship between return flow and the injector's other measurements are what separate reliable repair from guesswork.
Related products
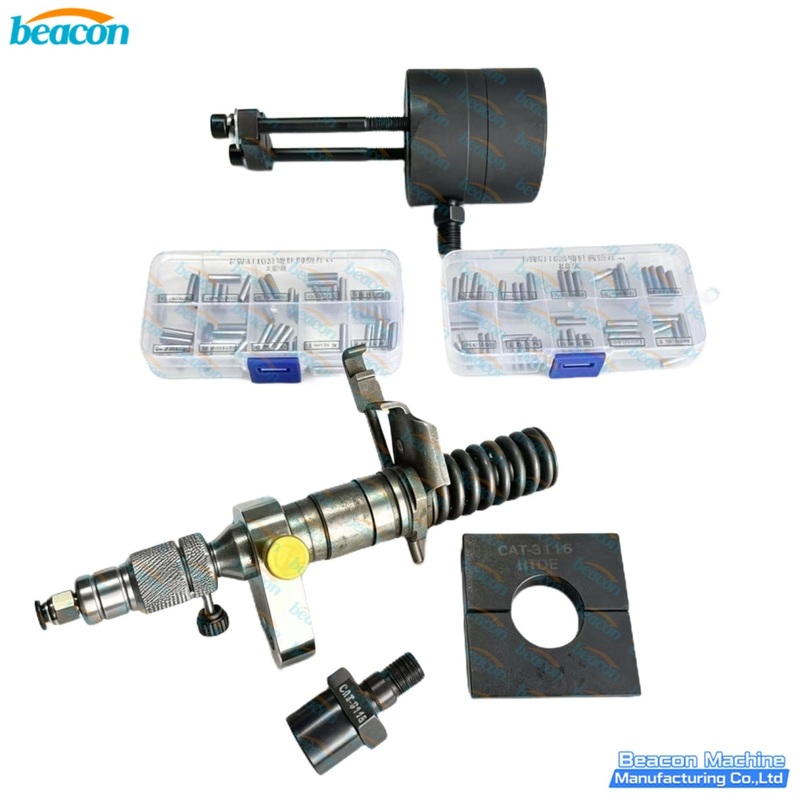
G5-55 CAT 3116 Injector Repair Tool Kit
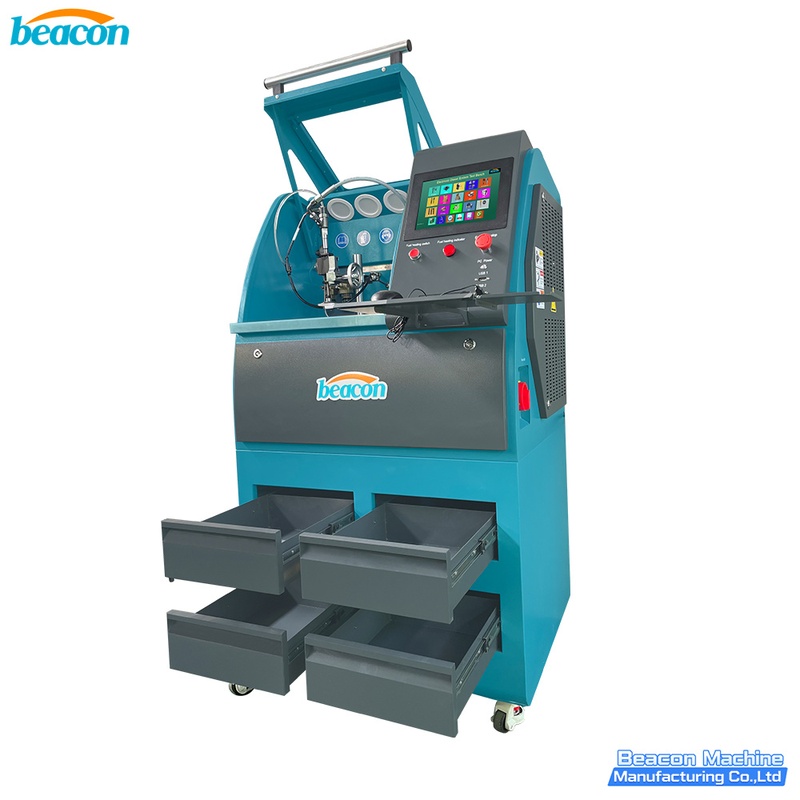
EPS206 PLUS Common Rail Injector Test Bench | Piezo & Coding
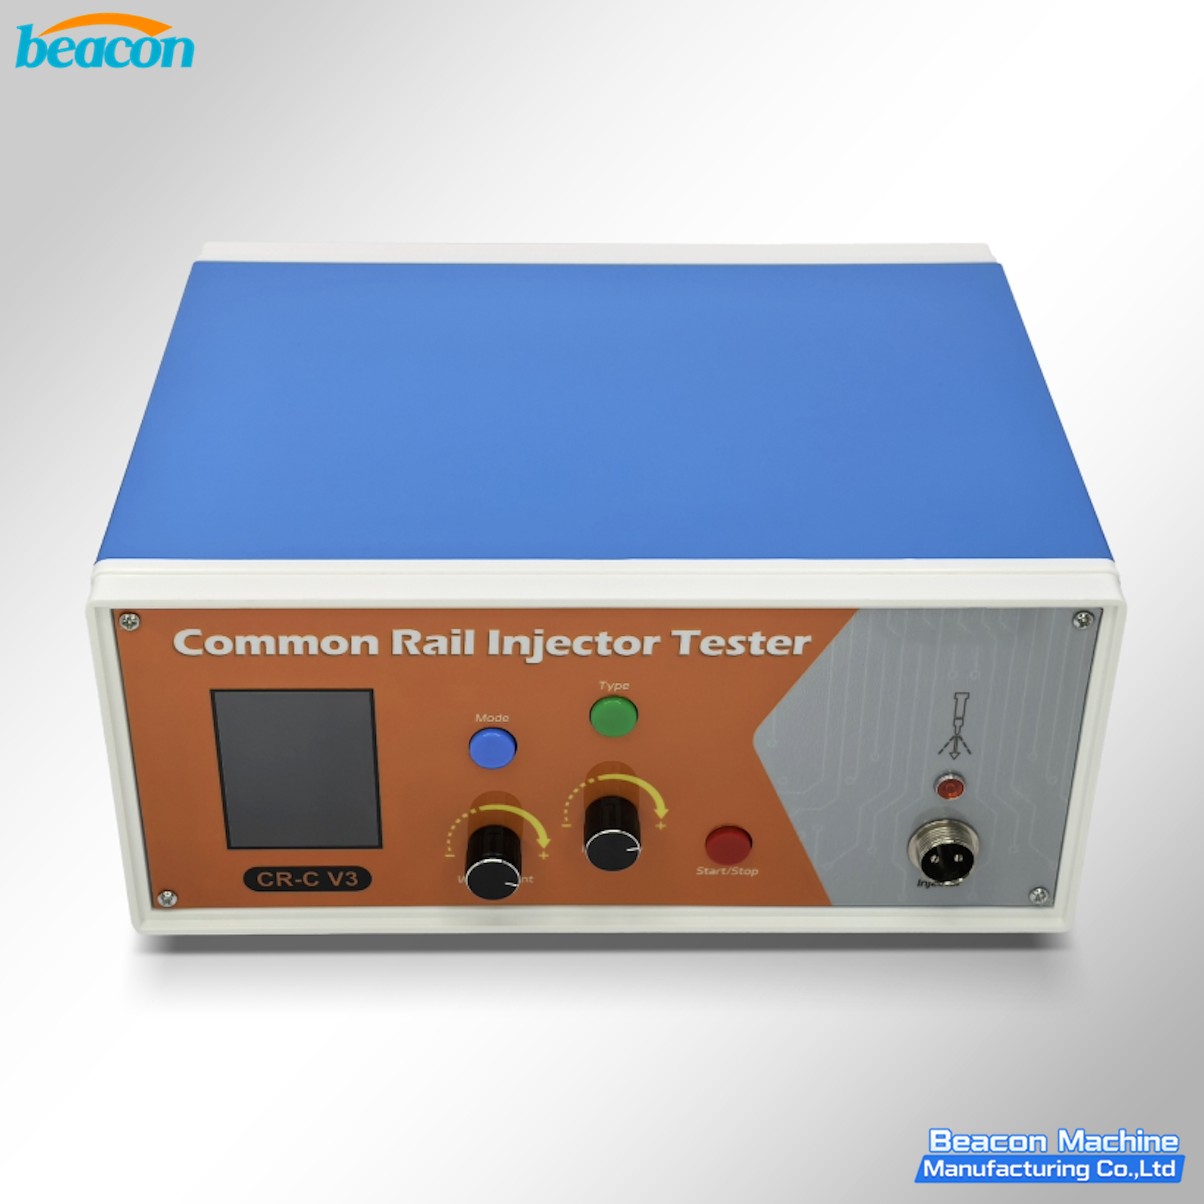
CR-C V3 Common Rail Injector Tester for Solenoid and Piezo Injectors
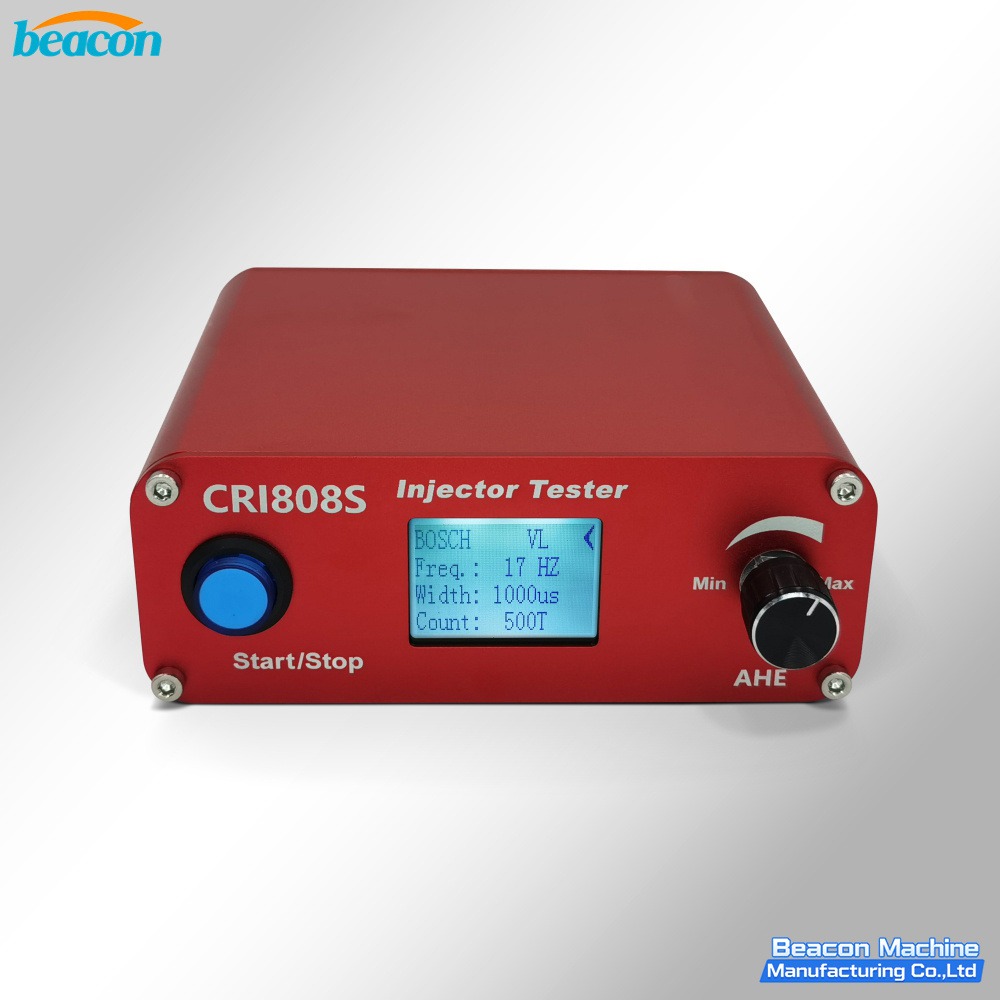
CRI808S Common Rail Injector Tester
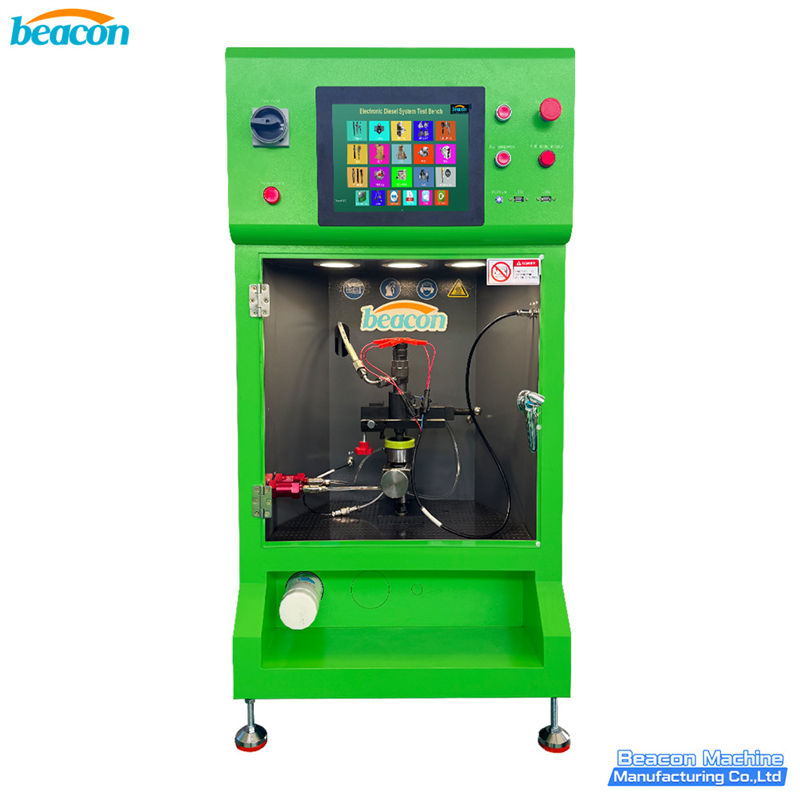
EPS290 Common Rail Injector Test Bench
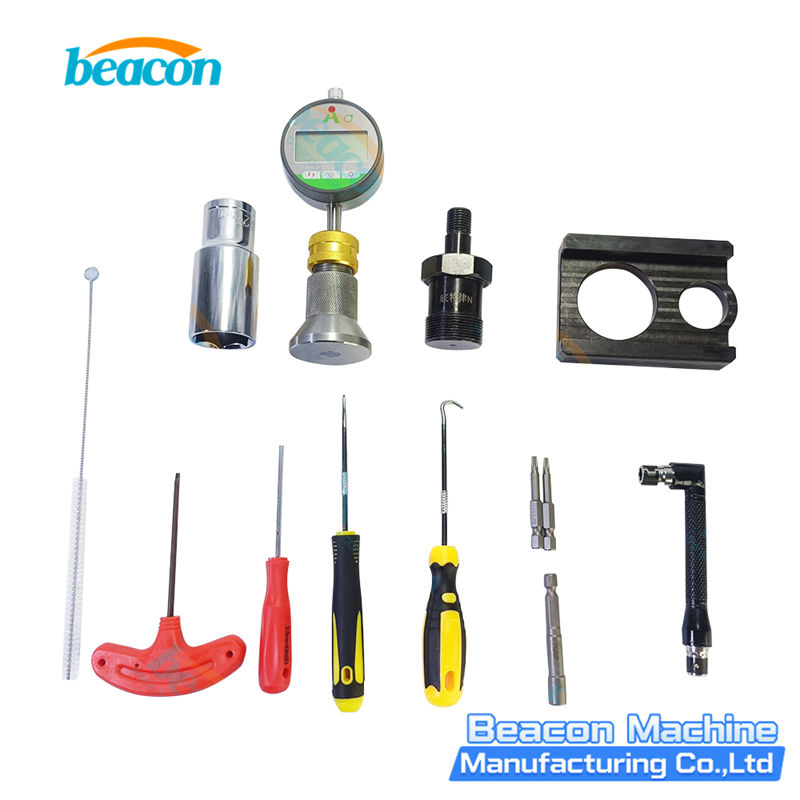
G4-63 Detroit Diesel Injector Repair Kit - Injector Service Tool Set
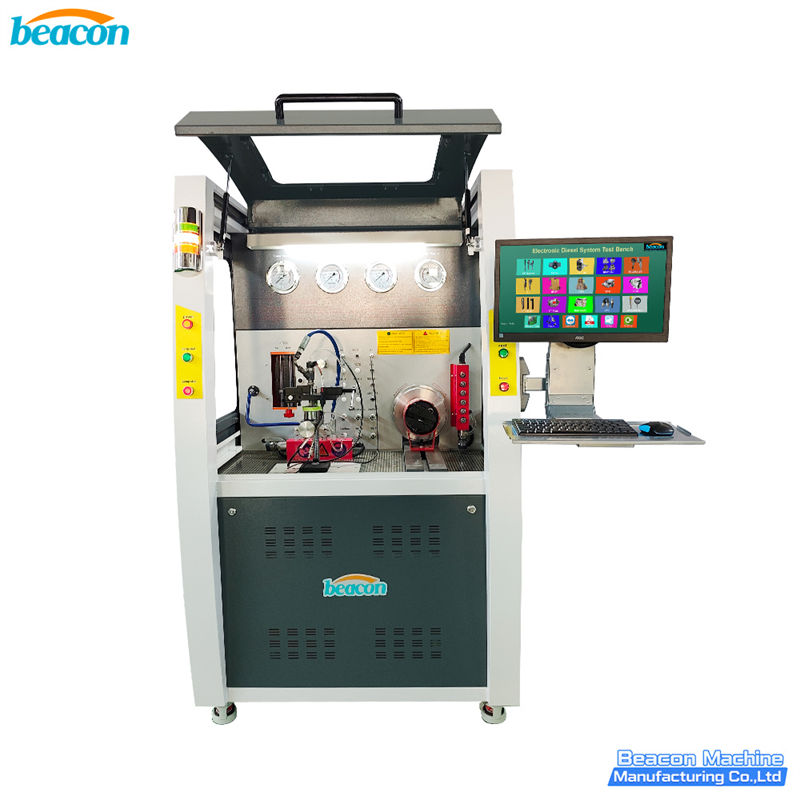
CR1029 High Pressure Common Rail Comprehensive Performance Test Bench - CR Injector & Pump Tester
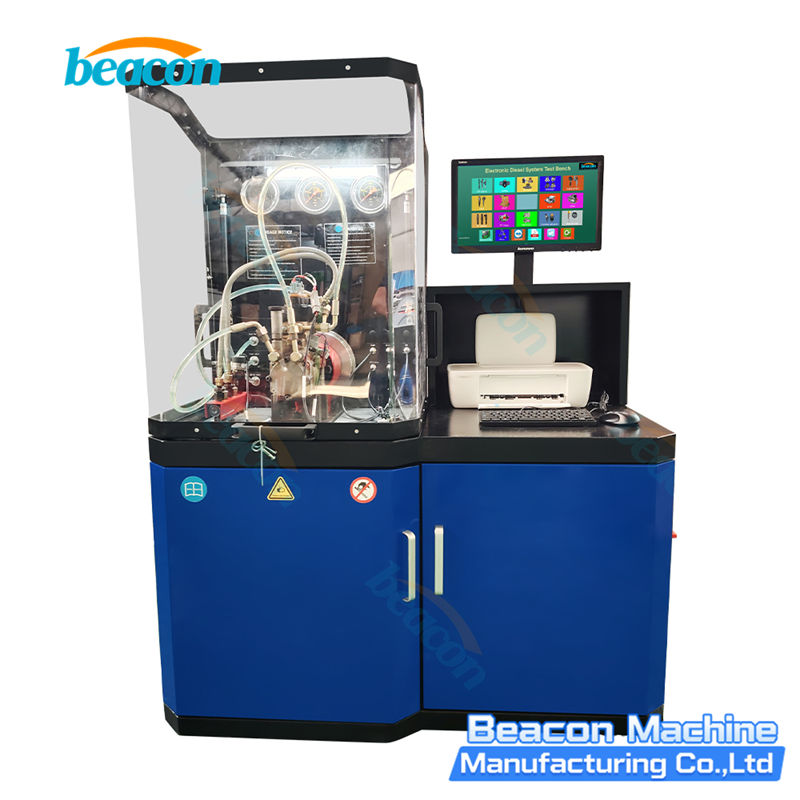
CR302 Common Rail Injector Test Bench
Beacon Machine Manufacturing Co.,ltd
Quick Links
contact
WhatsApp: +86-13570429157
Tel / Wechat: 0086-13570429157
Email: ellenzhang@beacon-machine.com
Add: High Technology Industrial Park of Taian city,Shandong province,China


quick order
We will reply to your email within 2 hours