
Beacon Machine Manufacturing Co.,ltd
 Language
  EN
EN RU
RU ES
ES DE
DE EL
EL IT
IT JA
JA KO
KO PT
PT ID
ID SR
SR UK
UK VI
VI TH
TH TR
TR MS
MS BE
BE AR
ARPilot Injection Quantity Too High or Too Low: Causes, Adjustment and Diagnosis
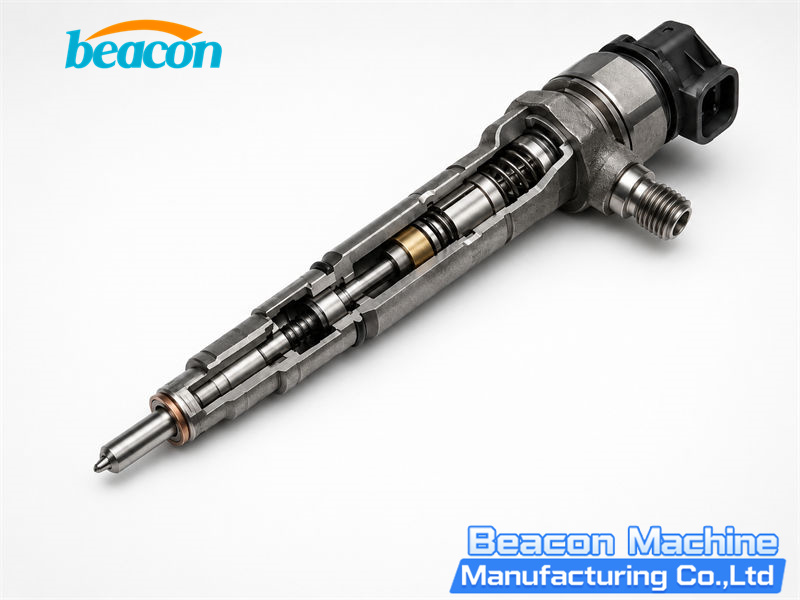
Pilot injection quantity is one of the smallest and most sensitive measurements in a common rail injector test. A result outside the test-plan tolerance can matter, but it is not a complete diagnosis by itself.
Pilot injection is a small injection event before the main injection. Depending on the engine calibration and operating condition, it can help manage the initial rate of pressure rise, combustion noise and smoothness. Because the commanded duration is short, a small error in pressure, temperature, hydraulic leakage or injector response can produce a visible change in measured quantity.
- Confirm the complete injector part number and the exact current test plan.
- Stabilize calibration-fluid temperature, rail pressure and return back pressure.
- Remove air and check adapters, connections and the measuring system.
- Compare pilot quantity with return flow, leakage, main delivery and response data.
- Adjust only the component and dimension specified for that injector family.
1. What Does “Too High” or “Too Low” Actually Mean?
A pilot result is high or low only in relation to the tolerance assigned to the exact injector, test point and test program. Different brands, injector generations and even visually similar part numbers may use different rail pressures, energizing times, target quantities and tolerances.
Do not apply one universal quantity, temperature, resistance, response-time or shim value to every injector. A stable result from the wrong program is still an invalid result. The first diagnostic step is therefore identification, not adjustment.
- Read the complete part number from the injector body.
- Confirm solenoid, piezo or other applicable technology.
- Select the matching test plan and correct adapter or cable.
- Verify that the report identifies the same part number that was tested.
- Use the limits supplied for that exact program and test point.
2. Rule Out Test-Condition Errors Before Disassembly
Pilot quantity is much smaller than full-load delivery, so it is especially sensitive to unstable test conditions. Before opening the injector, verify the bench, fluid and connections.
For workshops comparing small-delivery results across several injectors, the CR304 common rail injector test bench provides a practical four-channel common rail injector testing platform. Regardless of the bench used, the correct test plan and stable measurement conditions remain essential.
- Rail pressure reaches the target and remains stable during measurement.
- Calibration-fluid temperature is within the equipment and test-plan requirement.
- High-pressure and measuring circuits have been completely bled.
- Return back pressure and all high-pressure, return and adapter connections are correct.
- Flow sensors, measuring cylinders or electronic meters are calibrated and repeatable.
- The failed point is repeated only after pressure and temperature have stabilized.
3. Common Causes of Low Pilot Injection Quantity
Low pilot delivery means the injector did not deliver enough fuel during a short commanded event. The cause may be hydraulic, mechanical, electrical or simply related to the test setup. The following items are diagnostic directions, not proof of a failed part.
- Excessive internal leakage: wear at the control valve, valve seat, control piston or precision guides can prevent the required hydraulic pressure difference from forming quickly.
- Restricted flow: deposits or contamination in the nozzle holes, inlet path or internal restrictions can reduce small-quantity delivery.
- Needle or valve sticking: contamination, corrosion or surface damage can delay opening or shorten the effective opening period.
- Slow actuation: a coil, armature, spring, control valve or hydraulic response problem can delay injection on applicable designs.
- Incorrect internal dimensions: armature stroke, over-travel, residual air gap, valve lift or spring force may be outside the model-specific specification.
- Wrong or mismatched repair parts: a control valve, nozzle, spring or shim from a similar-looking injector can change dynamic delivery.
4. Common Causes of High Pilot Injection Quantity
High pilot delivery does not automatically prove that the nozzle holes are enlarged. Start with the test plan and operating conditions, then determine whether the problem is limited to pilot injection or affects several delivery points.
- Wrong test plan, pressure or drive condition: an incorrect program can make an otherwise normal injector appear over-delivering.
- Nozzle or needle-seat wear: erosion or a change in effective flow area can increase delivery in some test conditions.
- Early or prolonged hydraulic opening: control-valve, armature or closing behavior may increase the effective injection period.
- Incorrect spring force or adjustment dimension: the wrong spring, shim, valve lift or needle lift can alter opening dynamics.
- Intermittent sticking: inconsistent needle or control-valve movement can produce both high readings and poor repeatability.
- Incorrect repair components: parts that are dimensionally similar but not matched to the injector can change the calibration.
5. Interpret Pilot Quantity Together with Other Results
| Observed Pattern | Priority Diagnostic Direction |
|---|---|
| Pilot quantity low + return flow high | Internal hydraulic leakage; inspect the control valve, seat and precision guides. |
| Pilot quantity low + several delivery points low | Test conditions, rail pressure, restriction or general internal leakage. |
| Pilot quantity low + slow response or abnormal BIP where supported | Electrical/hydraulic actuation, armature movement, air gap or control-valve dynamics. |
| Pilot quantity high + other delivery points high | Wrong plan or pressure, measuring error, nozzle flow change or mismatched parts. |
| Only pilot quantity high and repeatable | Model-specific opening dynamics, spring force, valve lift or needle/nozzle condition. |
| Pilot quantity varies between repeated tests | Air, temperature or pressure instability, contamination, sticking or measurement error. |
| Pilot quantity abnormal + sealing test failed | Needle seat, control-valve seat or another high-pressure sealing surface. |
These patterns narrow the search area; they do not replace the manufacturer’s repair procedure. Where the injector and test plan support them, nozzle opening pressure (NOP), minimum drive pulse or dynamic delivery (MDP), opening/closing delay, response time and BIP can provide additional evidence.
6. Correct Adjustment and Retest Procedure
| Step | Action | Purpose |
|---|---|---|
| 1 | Record the complete pre-repair report: pilot, idle, main delivery, return flow, leakage and response data. | Preserve the original fault pattern. |
| 2 | Confirm part number, current test plan, calibration fluid, temperature, pressure, back pressure and adapters. | Exclude an invalid test. |
| 3 | Repeat the failed point and the complete required test sequence after stabilization. | Confirm repeatability. |
| 4 | Disassemble in a clean area and inspect control valve, seat, nozzle, needle, spring, armature and guides. | Find the actual damaged or contaminated component. |
| 5 | Replace defective or mismatched parts before changing calibration dimensions. | Avoid hiding wear with a shim change. |
| 6 | Measure only the internal dimensions specified for that injector family. | Use traceable, model-specific data. |
| 7 | Adjust the named shim or component to specification and use the prescribed assembly torque. | Restore the intended mechanical and hydraulic relationship. |
| 8 | Run the entire test plan again, including repeatability, leakage and coding steps where required. | Verify the repair as a complete system. |
7. Why There Is No Universal Shim Direction
Statements such as “a thicker shim always increases pilot quantity” or “a thinner shim always reduces pilot quantity” are unsafe. Injector designs differ, and a shim may control armature stroke, residual air gap, spring preload, control-valve lift, needle lift or nozzle opening pressure.
Changing one dimension can improve pilot quantity while making return flow, main delivery, response time or sealing worse. Identify the function of the specific shim from the applicable repair data before changing it. Never grind or substitute a shim merely to force one test point into tolerance.
8. Final Verification and Injector Coding
After adjustment, repeat the complete test program. A repair is not acceptable if pilot quantity passes but another mandatory delivery, leakage, response or repeatability point fails.
Some common rail injectors require a new correction code after testing or repair. Generate and write the code only when the injector system and test plan require it. Coding compensates for permitted production or repair variation; it cannot correct mechanical wear or an injector that fails its bench limits.
- All mandatory delivery points are within the exact program limits.
- Return flow and high-pressure sealing are acceptable.
- Response or BIP-related results are acceptable where applicable.
- Repeated runs produce consistent results.
- The correct new code is assigned to the correct cylinder when coding is required.
Frequently Asked Questions
Can pilot quantity be adjusted from one failed value alone?
No. Confirm the complete test plan and interpret pilot quantity with return flow, leakage, other delivery points and response data before adjustment.
Does low pilot quantity always mean the nozzle is blocked?
No. Restriction is one possibility, but excessive internal leakage, slow actuation, sticking, wrong parts or unstable test conditions can produce a similar result.
Should every repaired injector receive a new code?
No. Coding requirements depend on the injector family and vehicle system. Follow the applicable test plan and OEM service procedure.
Conclusion
Pilot injection quantity that is too high or too low is a test result, not a final fault diagnosis. Reliable repair begins with exact identification and stable conditions, then combines pilot delivery with return flow, leakage, main delivery and response evidence. Replace damaged precision parts before adjustment, and use only model-specific dimensions and procedures.
Safety: Common rail pressure can cause fatal injection injury. Never search for a leak by hand, loosen a high-pressure pipe while the engine or bench is running, or use improvised fittings. Follow the equipment and component manufacturers’ procedures.
Technical basis: prepared against official technical information from Bosch Mobility Aftermarket, DENSO and Delphi/Hartridge. All numerical limits and repair procedures must come from the current data for the exact injector and test equipment.
Related products
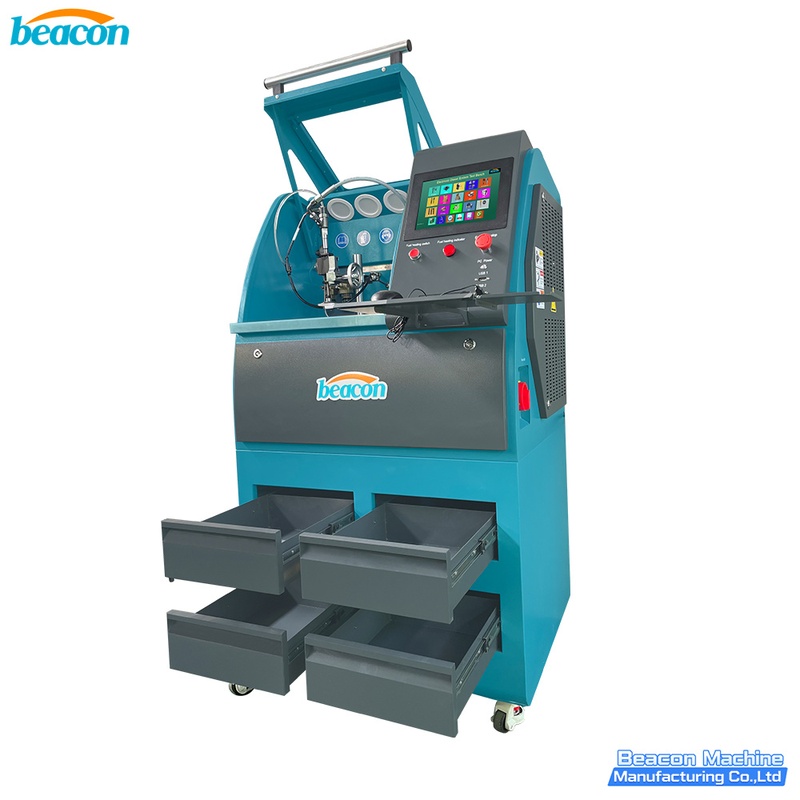
EPS206 PLUS Common Rail Injector Test Bench | Piezo & Coding
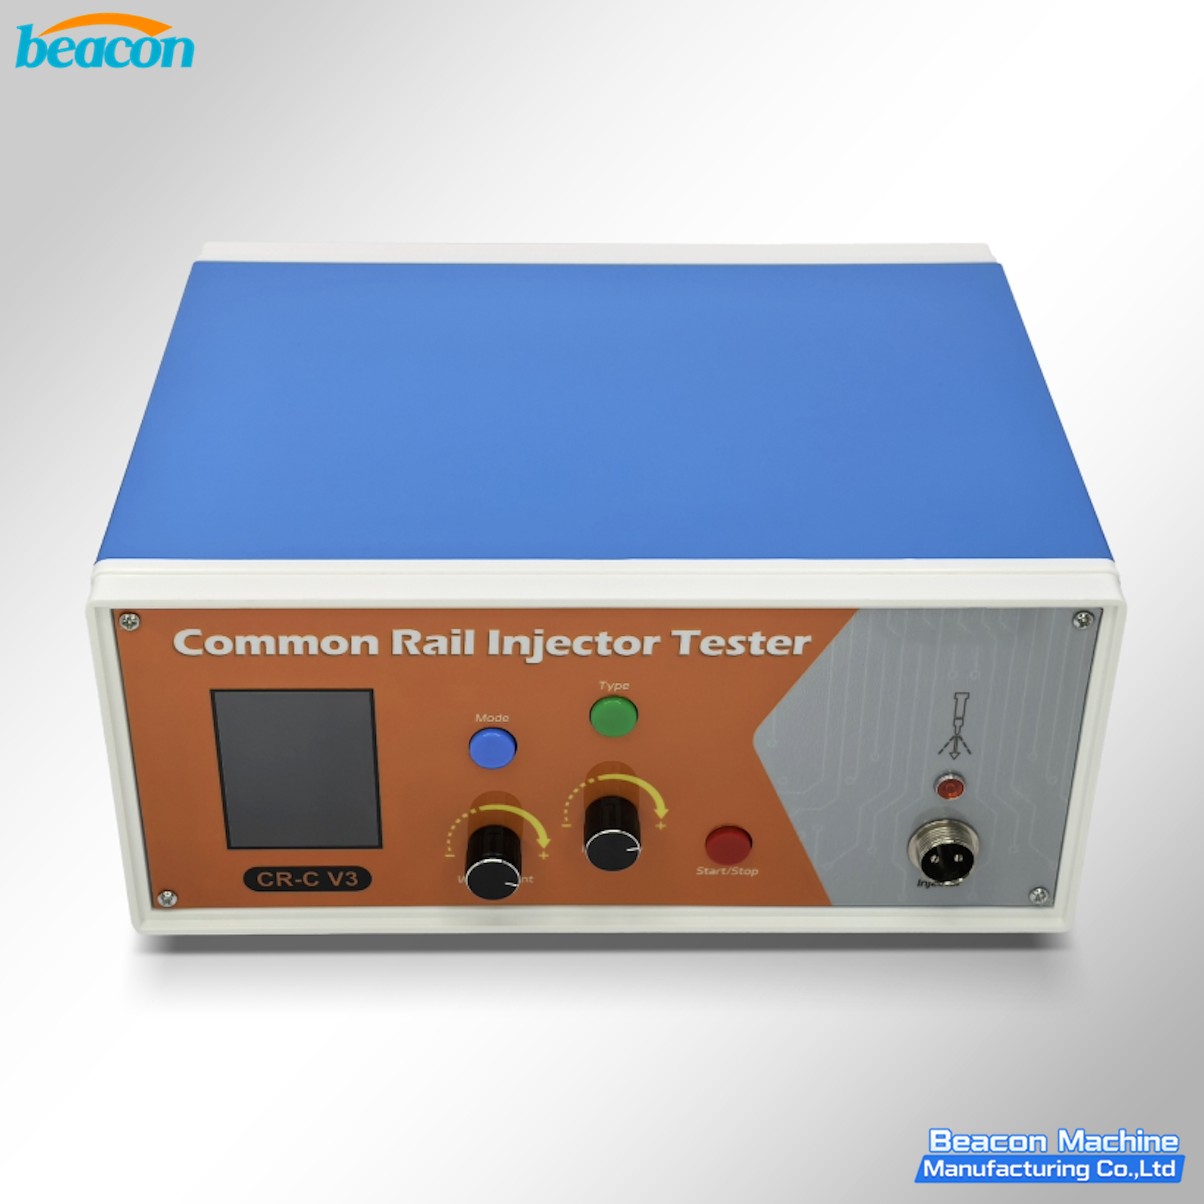
CR-C V3 Common Rail Injector Tester for Solenoid and Piezo Injectors
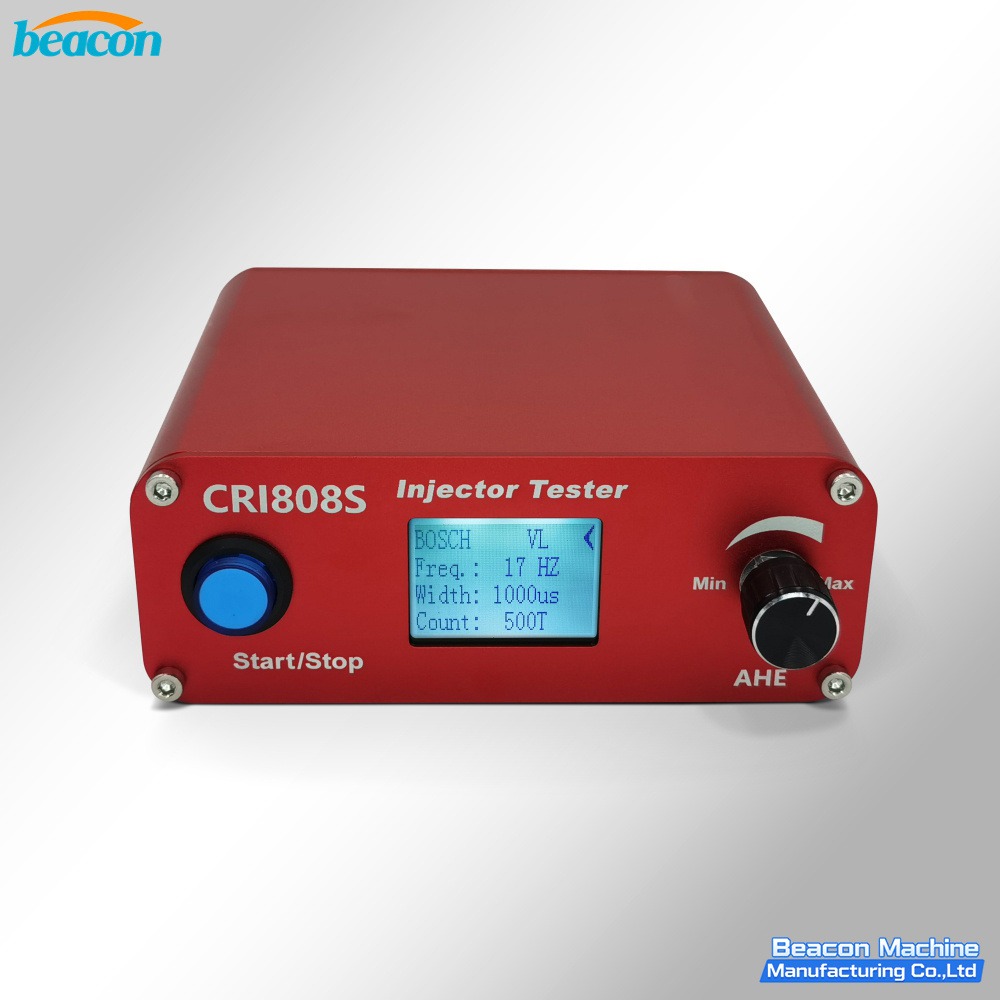
CRI808S Common Rail Injector Tester
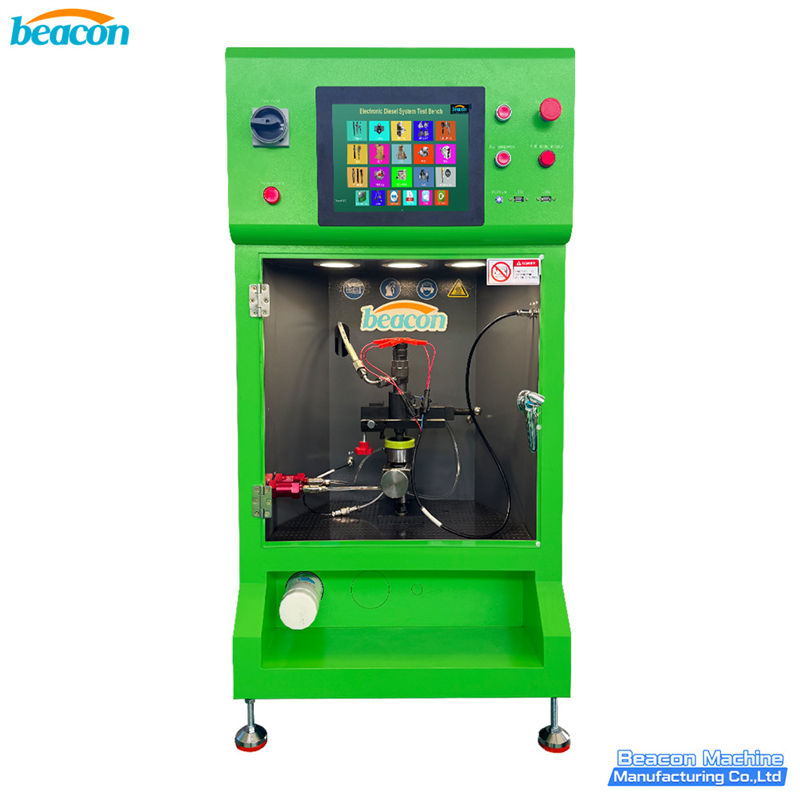
EPS290 Common Rail Injector Test Bench
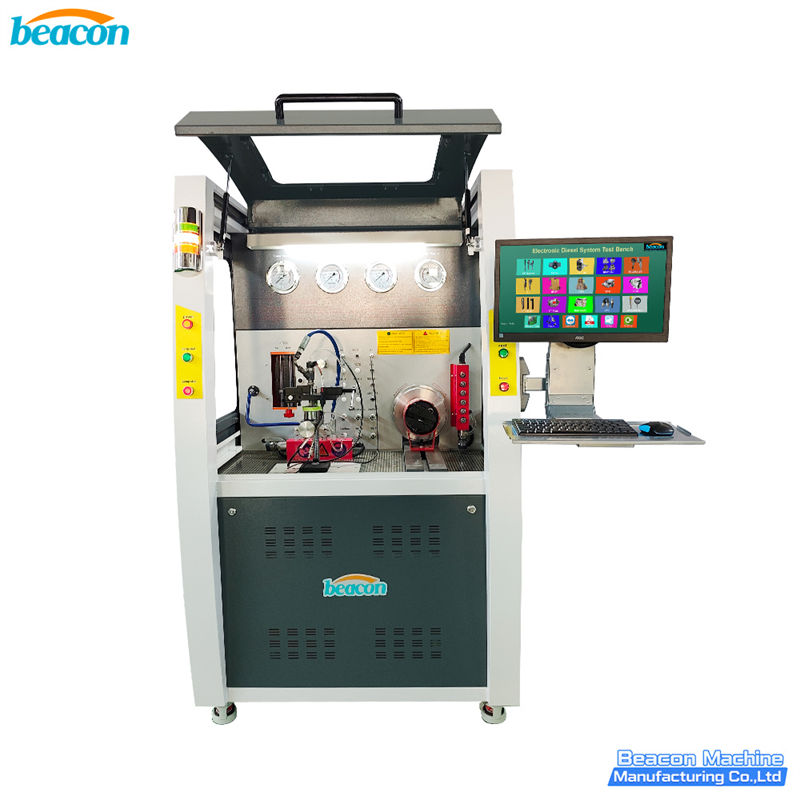
CR1029 High Pressure Common Rail Comprehensive Performance Test Bench - CR Injector & Pump Tester
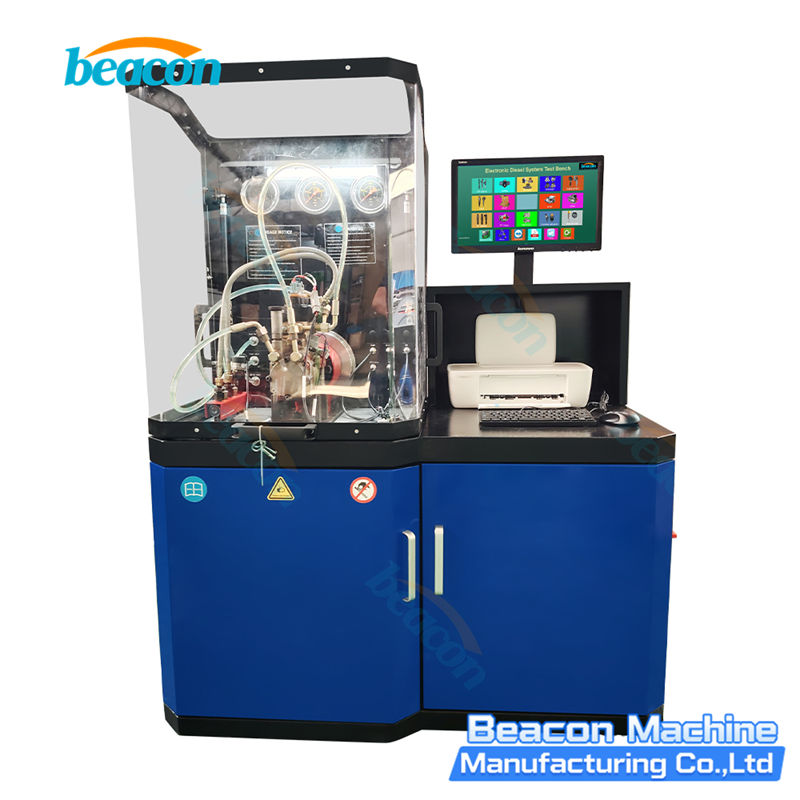
CR302 Common Rail Injector Test Bench
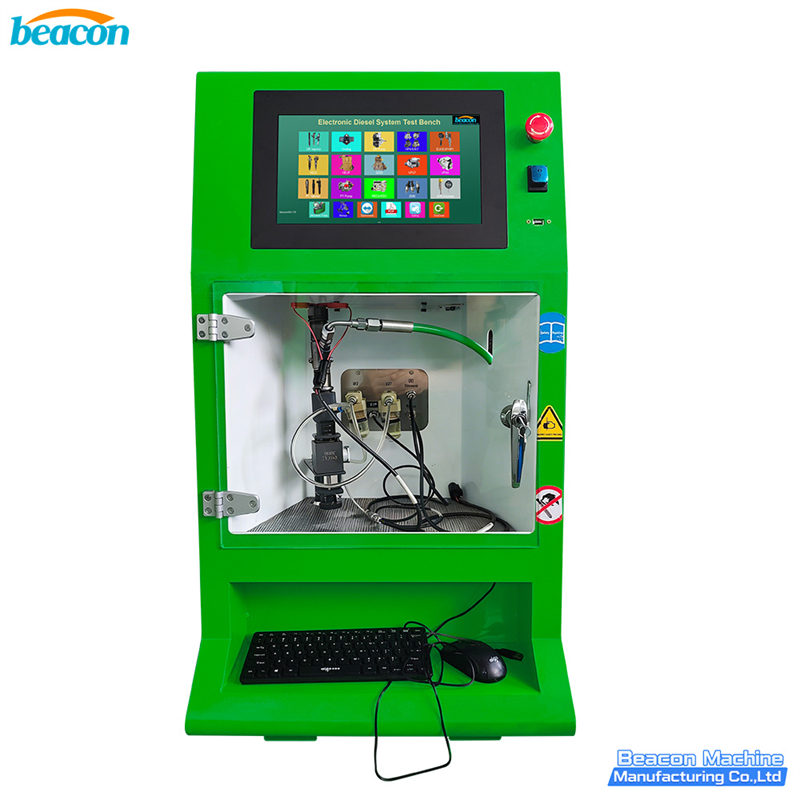
EPS212 Common Rail Injector Test Bench
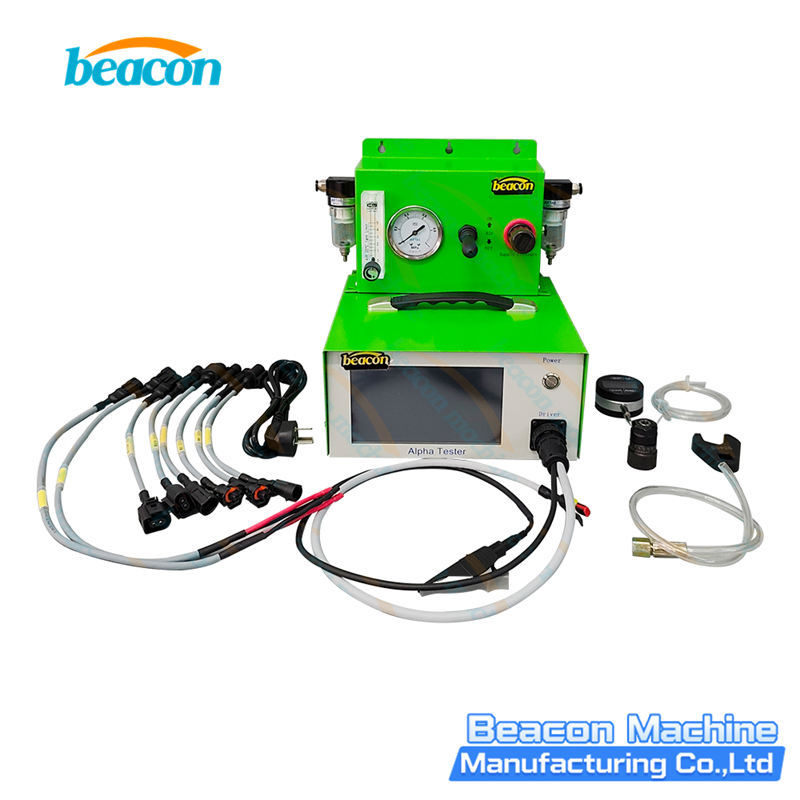
CRI350 Piezo Injectors Full-Functional Tester for Bosch Denso Siemens VDO
Beacon Machine Manufacturing Co.,ltd
Quick Links
contact
WhatsApp: +86-13570429157
Tel / Wechat: 0086-13570429157
Email: ellenzhang@beacon-machine.com
Add: High Technology Industrial Park of Taian city,Shandong province,China


quick order
We will reply to your email within 2 hours